
Key Takeaways
A Holden Commodore engine replacement is a major decision, but careful diagnosis and preparation can prevent expensive surprises.
- Confirm the engine failure before ordering replacement parts.
- Match the replacement to the Commodore’s generation, drivetrain, and electronics.
- Compare complete quotes, including labor, fluids, gaskets, and programming.
- Inspect related cooling, fuel, and electrical components while access is easy.
- Keep warranty documents and service records after the installation.
Understanding why your Holden Commodore needs an engine replacement
An engine replacement should begin with a diagnosis, not a parts order. Some symptoms that look like internal engine failure may come from the cooling system, ignition, fuel delivery, or electrical controls. A proper inspection helps separate a damaged engine from a repairable fault and gives you a sound basis for comparing options.
Common signs of engine failure
Persistent knocking, low oil pressure, heavy smoke, coolant in the oil, and severe loss of compression can point to internal damage. A vehicle that overheats repeatedly may also have warped or cracked components, even if it still starts. Warning lights and unusual noises matter, but they need to be interpreted alongside scan results, compression testing, leak-down testing, and a physical inspection.
A sudden change in oil level or color is another reason to stop driving and investigate. Continuing to operate the Commodore with low oil pressure or a serious overheating problem can turn a limited repair into a complete engine failure.
Repair, rebuild, or replacement: what is the difference?
A repair usually addresses a particular failed component, such as a sensor, gasket, water pump, or accessory. A rebuild involves dismantling the engine, inspecting its internal parts, and replacing or machining components as needed. A replacement removes the failed unit and installs another engine that has been selected for compatibility and condition.
The right path depends on the extent of damage, the engine’s condition before failure, parts availability, and the value of the vehicle. A rebuild can preserve the original engine, while a replacement may reduce downtime when a suitable unit is available. Neither option is automatically better without a diagnosis and a realistic quote.
How engine damage affects replacement decisions
The type of damage changes both the required parts and the risk of reusing surrounding components. A failed bearing may indicate oil contamination, while overheating can affect the cylinder head, cooling system, hoses, and sensors. Metal debris in the oil system deserves particular attention because it may damage components that appear unrelated at first glance.
Ask the workshop to explain what failed, what was tested, and which parts are expected to be reused. The failure’s cause matters as much as the replacement engine itself; otherwise, the new unit may be exposed to the same problem.
When a replacement engine is more practical than a repair
Replacement is often more practical when the original block is cracked, internal machining would be extensive, or the repair estimate approaches the cost of a suitable engine. It may also make sense when the vehicle is needed for regular transport and a tested replacement can be sourced more quickly than a full rebuild.
That decision should still include the Commodore’s overall condition. Check the transmission, suspension, body, brakes, air conditioning, and electrical systems before committing. A sound engine cannot make an otherwise uneconomical vehicle a good investment.
Choosing the right replacement engine
The phrase “replacement engine” covers several very different choices. A correct-looking V6 or V8 may still have incompatible mounts, sensors, wiring, emissions equipment, or control modules. Start with the vehicle identification number, engine code, transmission type, build details, and the exact configuration of the failed unit.
Matching the engine to your Commodore generation
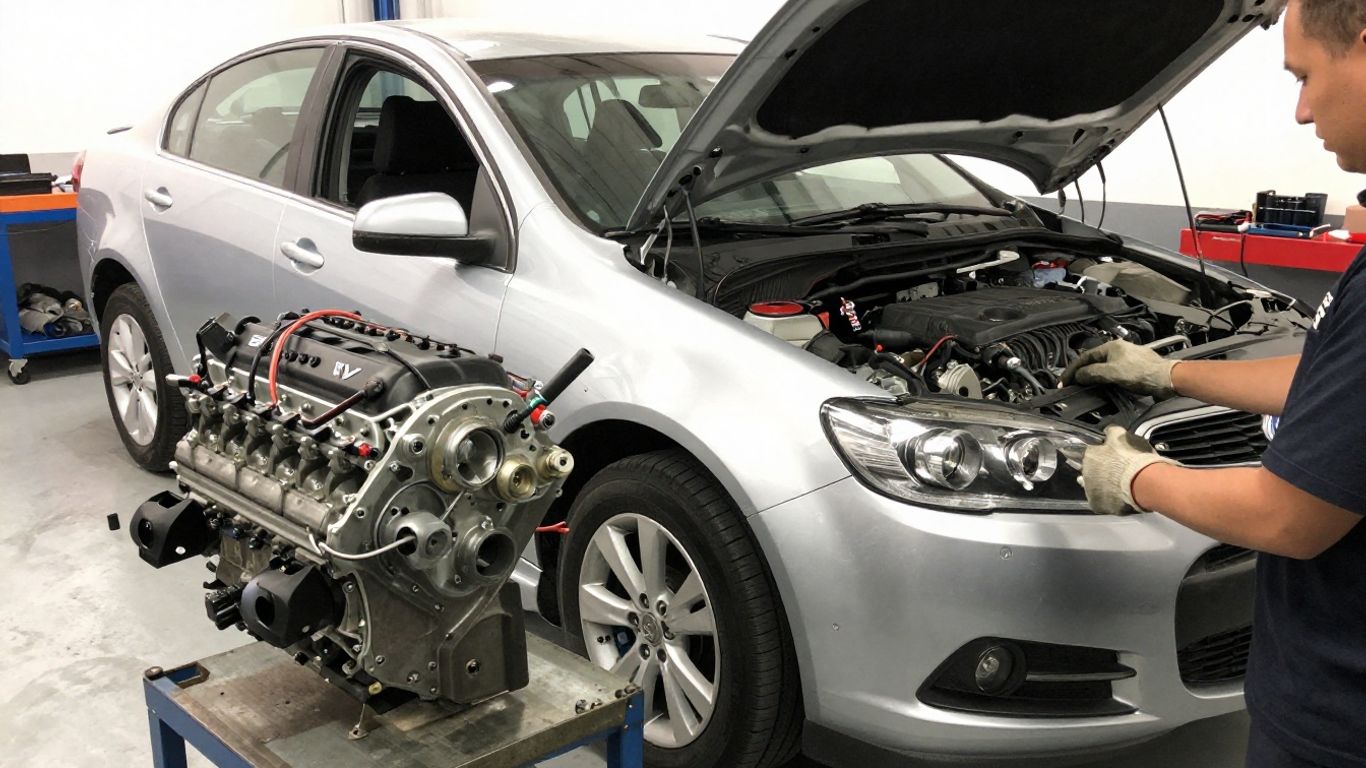
Commodore generations can differ in engine families, mounting arrangements, intake and exhaust equipment, wiring, and software. Even within one generation, trim level and production year may affect compatibility. Use the identification code and vehicle records rather than relying only on a seller’s model description.
A specialist or experienced workshop can compare the original engine with the proposed donor unit before purchase. This is especially useful when the replacement is supplied without every accessory or when components must be transferred from the failed engine.
Comparing V6, V8, and performance engine options
The safest replacement is generally one that matches the original specification and intended use. Moving from a V6 to a V8 or another performance configuration is not a simple engine swap; it may involve the transmission, wiring, programming, cooling, exhaust, brakes, differential, and legal requirements.
If performance is the goal, price the complete conversion rather than the engine alone. A higher-output engine can place greater demands on the drivetrain and chassis, and those related changes may become the largest part of the project.
Used, remanufactured, reconditioned, and crate engines
A used engine is typically sourced from another vehicle and should be judged by its mileage, testing, history, and warranty. A remanufactured engine has been rebuilt to a defined process, while “reconditioned” can mean different things depending on the supplier. A crate engine is usually supplied as a packaged replacement, but its included accessories and configuration still need checking.
Ask what inspection or testing was completed and what the price includes. The label alone does not tell you whether sensors, manifolds, accessories, or a warranty are part of the deal.
Checking compatibility with the transmission and electronics
Mechanical fit is only one part of compatibility. The replacement must work with the transmission, engine mounts, intake and exhaust systems, fuel delivery, immobilizer, sensors, wiring, and control modules. Some installations require programming or calibration before the engine will operate correctly.
Before ordering, create a written list of components being supplied and transferred. This makes it easier to identify missing items and prevents a low initial price from becoming an expensive collection of additional parts.
Estimating Holden Commodore engine replacement costs
The cost of a Holden Commodore engine replacement can vary widely because the engine itself is only one part of the job. Generation, engine type, donor mileage, warranty, labor rate, and the condition of the vehicle all influence the final amount. A useful estimate separates the major cost groups instead of presenting one unexplained figure.
Typical costs for the engine and supporting parts
The replacement unit may be sold as a long block, a complete engine, or a package with accessories. Those descriptions are not interchangeable. A long block may require the original intake, exhaust, alternator, starter, sensors, manifolds, and other equipment to be transferred, while a more complete package may reduce installation work.
A quote should identify the engine type and list supporting parts separately. The following comparison is a practical way to see why two apparently similar offers can have different prices:
| Cost area | What to confirm | Why it matters |
|---|---|---|
| Replacement engine | Type, code, mileage, and condition | Determines fit and risk |
| Supporting parts | Accessories, mounts, gaskets, and hoses | Prevents missing-part delays |
| Labor | Hourly rate and estimated hours | Shows how installation is priced |
| Fluids and filters | Oil, coolant, fuel or air filters | Covers essential commissioning items |
| Warranty | Duration, exclusions, and labor terms | Defines protection after installation |
Reading the inclusions this way gives you a more useful comparison than choosing the smallest headline price. It also gives the workshop a clear checklist when the vehicle arrives.
Labor rates and installation time
Labor depends on access, engine configuration, corrosion, seized fasteners, component transfers, and the amount of testing required afterward. An installation can take longer when the replacement does not arrive with compatible accessories or when the failed engine has contaminated the cooling or lubrication systems.
Ask whether the estimate includes removal, installation, fluid filling, fault-code diagnosis, programming, road testing, and cleanup. If the workshop expects the hours to change after inspection, ask how additional work will be approved.
Additional expenses for fluids, sensors, and gaskets
Fresh engine oil and coolant are basic requirements, but the job may also call for filters, seals, hoses, belts, spark plugs, thermostat components, or sensors. Not every item needs replacement, and replacing parts without inspection is wasteful. The sensible approach is to assess condition and explain the reason for each recommended item.
Some parts are inexpensive when the engine is already out but difficult to reach later. That makes access and labor a relevant part of the decision, not a reason to approve every possible extra.
Factors that can increase the final bill
Unexpected costs often arise from a mismatch, hidden damage, or a problem discovered during removal. Exhaust fasteners may be seized, wiring may have been altered, or the transmission seal may be leaking. A contaminated cooling system can also require flushing and further diagnosis.
Before work begins, agree on an approval process for additional repairs. A written threshold or phone approval gives you control while allowing the workshop to deal with genuine findings efficiently.
Preparing for the replacement process
Good preparation reduces delays and protects the value of the repair. Before an engine is ordered, document the vehicle’s specifications, inspect its major systems, and decide what outcome you expect: a dependable standard replacement, a rebuild of the original, or a more extensive conversion. This is also the stage to review warranty conditions carefully.
Inspecting the vehicle before ordering an engine
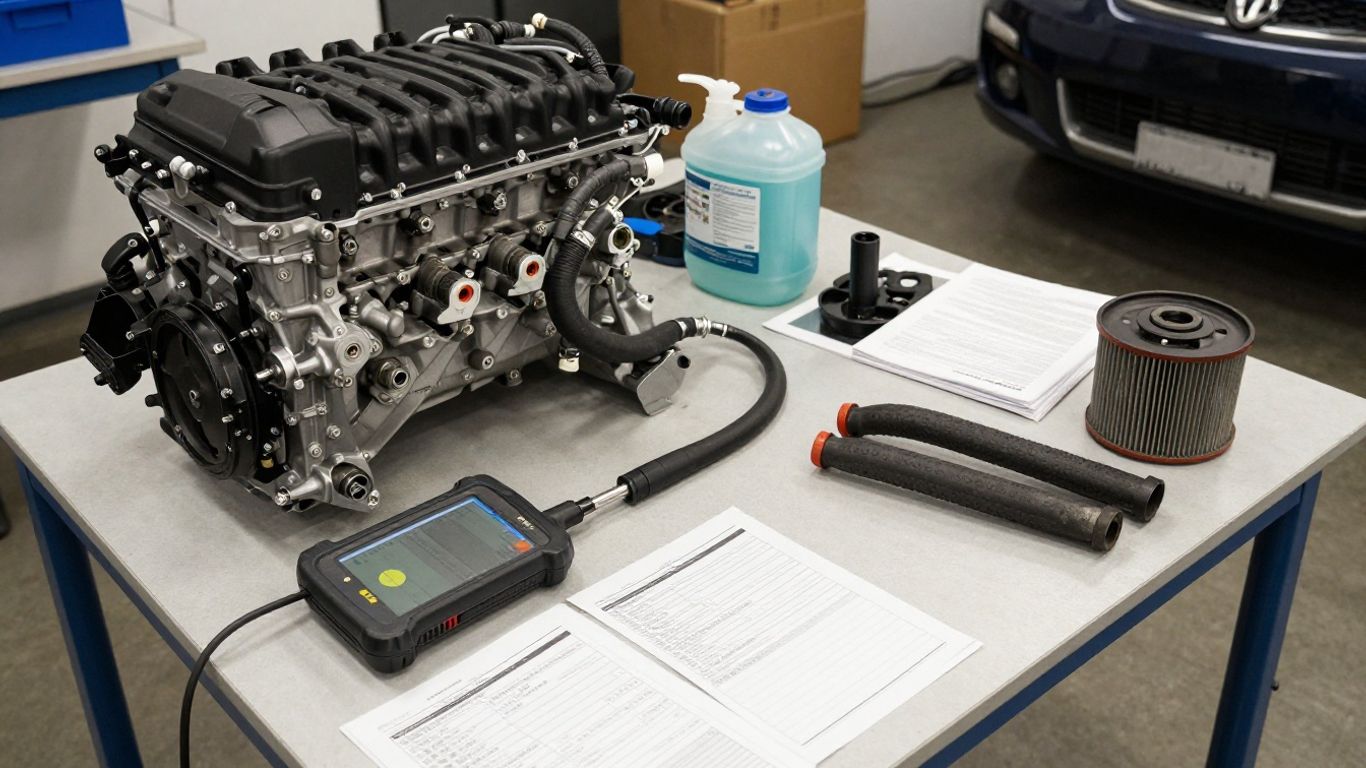
Check the transmission, differential, cooling system, fuel system, wiring, exhaust, brakes, and body condition. The inspection should also consider why the original engine failed. For example, an overheating problem may require more than an engine if the radiator, thermostat, fan control, or hoses are defective.
A pre-order inspection can prevent you from spending heavily on an engine for a vehicle that needs several unrelated repairs. It also helps the workshop identify which original components are suitable for transfer.
Verifying the donor engine’s mileage and history
Request the donor engine’s identification details, mileage evidence, source, and test information. Ask whether it was removed from a running vehicle, stored correctly, or inspected after removal. If the history is incomplete, treat that uncertainty as part of the purchasing risk rather than assuming the best outcome.
The warranty should match the information supplied. A short warranty may be reasonable for a lower-cost used unit, but its exclusions and conditions still need to be understood before installation.
Replacing related components while the engine is out
Access is often the strongest argument for replacing certain related parts during installation. The decision should be based on inspection, service history, and the cost of repeating labor later. Common items for consideration include belts, seals, hoses, thermostat parts, mounts, and filters, although the exact list depends on the engine and vehicle.
A compact inspection list can help keep the conversation focused:
- Check engine mounts and accessible seals for wear or leakage.
- Inspect hoses, belts, thermostat components, and cooling connections.
- Test sensors and wiring that may have contributed to the original failure.
- Confirm the transmission fluid condition and seal area.
These checks do not mean every part must be replaced. They provide a basis for deciding which items are preventative and which can safely remain in service.
Confirming warranty coverage and return conditions
Get the warranty in writing before the engine is fitted. Confirm its duration, covered parts, labor responsibility, exclusions, maintenance requirements, and the process for reporting a problem. Some warranties may require installation by a qualified workshop or documented servicing.
Return conditions also matter if the engine arrives damaged or proves incompatible. Keep the invoice, engine code, photographs, delivery records, and any inspection notes. Clear documentation makes a dispute less likely and a resolution more straightforward.
How the engine replacement is completed
The exact sequence varies by Commodore generation and workshop equipment, but the job follows a logical pattern. The vehicle is diagnosed and prepared, the failed engine is removed, compatible equipment is assessed and transferred, and the replacement is connected and tested. Safety and cleanliness are essential throughout because dirt, incorrect connections, or unsupported components can create new faults.
Removing the failed engine safely
The workshop normally isolates the battery, drains relevant fluids, labels connections, supports the vehicle, and secures the transmission before separating the engine. The removal process also provides an opportunity to inspect mounts, wiring, hoses, exhaust connections, and signs of the original failure.
Photographs and labels can be useful when multiple connectors or brackets appear similar. Parts that are being reused should be protected, cleaned, and stored rather than left exposed to contamination.
Transferring compatible components to the replacement
Depending on how the replacement is supplied, the workshop may transfer manifolds, intake components, accessories, sensors, wiring, brackets, or other equipment from the original engine. Each part should be checked rather than transferred automatically. A failed sensor or contaminated accessory can compromise an otherwise sound replacement.
The engine code and specifications should be confirmed again at this stage. If a component differs between the original and donor units, the workshop should explain whether it is compatible and whether any programming or calibration changes are required.
Installing and connecting the replacement engine
The replacement is positioned and secured, then connected to the transmission, mounts, cooling system, fuel system, exhaust, wiring, intake, and accessories. Fluids are filled according to the vehicle and engine requirements, and the work area is checked for loose fasteners, leaks, and pinched wiring.
A careful installation is more than getting the engine to start. Correct routing, torque, fluid levels, and connector fit affect reliability after the vehicle leaves the workshop.
Programming, calibration, and first-start checks
Modern engine control systems may need fault-code checks, programming, relearning, or calibration after an engine is installed. The workshop should verify that the immobilizer, sensors, throttle controls, transmission communication, and warning systems operate as expected for the vehicle.
The first start should be controlled, with attention to oil pressure, coolant circulation, unusual noise, leaks, and operating temperature. A road test and a second inspection after cooling allow problems to be found before handover.
Avoiding common engine replacement mistakes
Most costly mistakes happen before or immediately after the engine is fitted. They usually involve assumptions: assuming the engine code is close enough, assuming the original cause has been fixed, or assuming a low quote includes every necessary step. A short written checklist can protect both the budget and the vehicle.
Buying an engine without confirming the identification code
Model names are not precise enough for many replacement decisions. Confirm the engine identification code, build details, transmission, emissions equipment, and relevant vehicle information with the supplier and installer. Keep that confirmation in writing.
A donor engine that appears visually similar may still require expensive changes to wiring, accessories, mounts, or software. Verifying compatibility before payment is much easier than resolving a mismatch after delivery.
Ignoring cooling, fuel, and electrical system problems
A replacement engine cannot correct a blocked radiator, weak fuel delivery, damaged wiring, or a faulty control module. If one of those problems caused or contributed to the failure, ignoring it puts the new engine at risk.
The workshop should test the systems that affect starting, lubrication, cooling, and engine management. Do not treat the replacement as an isolated component when the original symptoms point to a wider fault.
Choosing the lowest-priced quote without comparing inclusions
A low quote may cover only a bare engine and basic installation. Another quote may include a tested unit, gaskets, fluids, programming, road testing, and a longer warranty. Comparing totals without comparing inclusions can make the cheaper option appear better than it is.
Request itemized estimates from each workshop. Pay attention to assumptions about reused parts, additional labor, taxes, freight, warranty labor, and what happens if the supplied engine is incorrect.
Failing to document testing, warranty, and maintenance requirements
Verbal promises are easy to misunderstand once the vehicle is finished. Ask for the engine code, test results, installation scope, warranty terms, first-service timing, and any break-in requirements. Keep copies with the vehicle records.
This documentation also helps if a warning light appears later. The workshop can compare the new symptom with the installation notes instead of starting from scratch.
Maintaining your Holden Commodore after engine replacement
The replacement period does not end when the vehicle is collected. Early maintenance confirms that fluids remain clean and correctly filled, leaks are not developing, and the engine is operating at the expected temperature. The first few drives should be attentive rather than aggressive.
Following the break-in procedure for a rebuilt or remanufactured engine
A rebuilt or remanufactured engine may have specific running-in instructions from its supplier. Follow those instructions exactly, including limits on load, speed, idling, and the timing of the first oil change. A used engine may not have the same break-in requirement, so ask which procedure applies to the unit actually installed.
Avoid modifying the driving routine based on general advice when the warranty documents specify something different. Compliance may be necessary for warranty protection as well as mechanical care.
Changing fluids and filters at the recommended intervals
Use the specified oil, coolant, and filters, and follow the intervals supplied for the engine and vehicle. The first service may be earlier than the regular schedule, particularly for a rebuilt unit or where the original failure involved contamination.
Check fluid levels regularly during the first weeks. A small drop in coolant or oil can reveal a leak before it becomes a serious problem, especially when the vehicle is parked on a clean surface overnight.
Monitoring temperature, oil pressure, and warning lights
Watch the temperature gauge and pay attention to changes in oil-pressure warnings, engine noise, exhaust smoke, starting behavior, or idle quality. Stop driving if the vehicle overheats, loses oil pressure, or develops a severe new noise. Continuing to drive can increase damage quickly.
Do not dismiss a warning light simply because the engine was recently replaced. Scan and diagnose it promptly, since the cause may be a loose connection, a sensor problem, a fluid issue, or a separate vehicle fault.
Keeping service records for future repairs and resale value
Keep the invoice, engine identification details, mileage at installation, warranty paperwork, parts list, test results, and service receipts. Record the dates and mileage of fluid changes and any follow-up inspections. These details create a useful history for future technicians.
A well-documented replacement can also reassure a future buyer that the work was planned and maintained properly. It will not erase the vehicle’s history, but it makes the condition and care easier to assess.
Conclusion
A successful Holden Commodore engine replacement depends on diagnosis, compatibility checks, an honest cost comparison, and disciplined follow-up maintenance. Confirm the engine code and donor history, understand exactly what the quote includes, address related system faults, and retain every warranty and service record. With that groundwork, the replacement becomes a managed repair decision rather than a gamble.