

Key Takeaways
Buying Mazda engine parts online is safer when you verify the vehicle, engine, part number, seller, and final cost before paying.
- Match the part to the exact model year, engine, trim, and VIN.
- Compare genuine, OEM, aftermarket, used, and rebuilt options carefully.
- Check seller details, fitment information, shipping, returns, and warranty terms.
- Compare the complete purchase cost rather than the advertised discount alone.
- Inspect the part when it arrives and keep all order documentation.
Identify the right Mazda engine part
A correct-looking part can still be wrong for a particular Mazda. Model changes, engine variations, trim equipment, and midyear updates can affect fitment, so begin with the vehicle’s records rather than a broad search phrase. The more precisely you identify the car, the less likely you are to pay for a return or delay a repair.
Match the part to your Mazda’s model year
Start with the model year, body style, and generation. A Mazda3, CX-5, or MX-5 may use different components across nearby years, even when the name and engine displacement appear similar. The registration, owner’s manual, service history, and an existing part label can help establish the correct baseline.
A listing that covers several years deserves a closer read. Look for a specific range rather than assuming that every vehicle in the same model family shares the component. If the seller lists exclusions or production-date notes, treat them as part of the fitment information, not as optional fine print.
Confirm the engine size and trim
Engine size is only one part of the match. Turbocharged and naturally aspirated versions, different emissions equipment, and trim-specific systems may require different sensors, brackets, hoses, or mounting hardware. Confirm the engine code where possible, since a displacement number alone may not distinguish every version.
Trim can matter even when the engine is unchanged. Equipment packages sometimes affect surrounding components and wiring, so record the trim level alongside the year and model before searching. This small step helps narrow results that otherwise look interchangeable.
Use the VIN for precise compatibility
The vehicle identification number gives a retailer a stronger basis for checking compatibility than a model name alone. Enter it exactly as shown on the vehicle or registration, and confirm that the seller actually uses VIN information for fitment rather than merely collecting it during checkout.
Keep the VIN check tied to the exact item. A seller may confirm that a vehicle is supported while a particular revision, gasket set, or accessory remains excluded. Save the confirmation, especially if it was provided by email or through a support message.
Distinguish engine components from related parts
Engine parts are often grouped with nearby systems, which can make search results confusing. A timing component, for example, may appear beside drive-belt hardware, while a cooling part may be listed near climate-control components. Read the description carefully to see what is actually included.
Check whether the package contains one component or a complete kit. A photograph may show several pieces for illustration even though the price covers only one. Confirm seals, fasteners, sensors, brackets, and installation hardware separately before assuming they are included.
Choose between genuine, OEM, and aftermarket parts
The label attached to a replacement part says something about its source, but it does not replace compatibility checks. Genuine, OEM, and aftermarket components can differ in packaging, documentation, testing, and warranty coverage. Your choice should reflect the part’s job, the vehicle’s condition, and the consequences of a premature failure.
What genuine Mazda parts offer
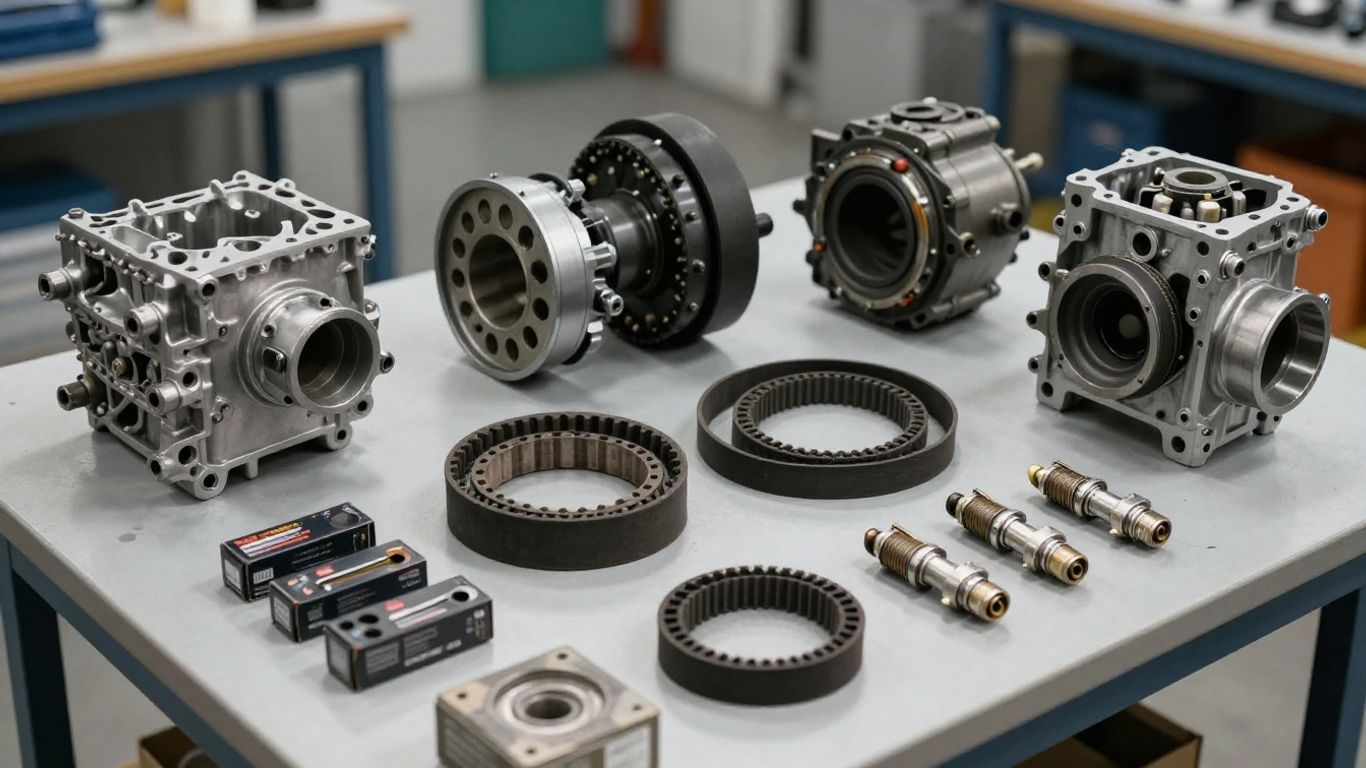
Genuine Mazda parts are made by Mazda for Mazda vehicles, and the available source describes them as designed, tested, and manufactured specifically for the vehicle. That can make them a straightforward choice when exact fit and familiar specifications matter most. The listing should still identify the correct part number for your particular application.
For a critical engine repair, consistency can be worth more than a small initial saving. Read the warranty terms attached to the specific seller and item, because coverage, exclusions, and return conditions can vary. A genuine label is useful information, but it is not a substitute for checking the order details.
How OEM parts compare with branded alternatives
OEM usually refers to a component made to the vehicle maker’s original specification, though the package may carry a different name. Ask who made the part, whether the original part number is cross-referenced, and what documentation supports the claim. Do not treat the word “OEM” by itself as proof of a particular manufacturer.
Branded alternatives may be sensible when the supplier is identifiable and the specifications are clear. Compare the warranty, materials, dimensions, and return policy instead of judging by packaging alone. For a part hidden deep in the engine, paying slightly more for dependable documentation may be reasonable.
When aftermarket parts may be suitable
Aftermarket parts can work well for routine service items when the manufacturer provides precise fitment and the seller has a clear return process. They may also offer useful choices for older vehicles where availability or budget is a concern. The right decision depends on the component and the quality of the supplier.
Use extra care with parts that affect timing, lubrication, cooling, fuel delivery, or engine sealing. Read technical specifications, not just marketing language, and compare the part against the original before installation. If the listing is vague about materials or application, move on rather than guessing.
Recognize risks from low-quality components
A very low price may reflect missing hardware, inconsistent materials, poor quality control, or uncertain provenance. Problems may not appear until the part is under heat, pressure, vibration, or repeated movement. That is especially concerning when failure could damage other engine components.
Look for a traceable seller, a complete part number, and meaningful warranty language. Avoid listings that use stock photographs while omitting dimensions, application notes, or package contents. Quality evidence matters more than a dramatic discount when the replacement is difficult to access.
Evaluate online Mazda parts retailers
A good retailer makes the purchase easier to verify before money changes hands. The site should identify the business, describe the product accurately, and explain what happens if the part is delayed or does not fit. Treat the buying process as a conversation between the listing, the policies, and the support team.
Check seller reputation and business details
Look for a business name, physical or mailing address, phone number, and a usable support channel. Independent customer feedback can reveal patterns around packing, communication, and returns, although isolated reviews should not decide the purchase by themselves. A retailer that makes basic business information difficult to find deserves caution.
Check whether the company has experience handling vehicle parts rather than only general merchandise. Clear contact details and consistent policy pages are practical signs that someone can address a fitment question after checkout. Save a copy of those details in case the site changes later.
Review product listings and part numbers
A useful listing states the part name, manufacturer or source, part number, vehicle applications, package contents, and condition. It should distinguish a single component from a kit and explain whether the displayed photograph is representative. If several numbers are shown, identify which one you will actually receive.
A compact comparison can prevent omissions when you are reviewing several listings:
| Listing detail | Why it matters | What to verify |
|---|---|---|
| Part number | Links the item to a specific application | Original number or valid cross-reference |
| Fitment range | Shows which vehicles the seller intends to cover | Year, model, engine, and trim |
| Condition | Separates new, used, rebuilt, or open-box items | Actual condition and inspection notes |
| Package contents | Prevents missing seals, hardware, or accessories | Exact quantity and included pieces |
After checking these fields, compare the listing with your repair notes and the old part. If one detail conflicts, pause the order and ask the seller to reconcile it rather than relying on a photograph or search result.
Compare shipping policies and delivery times
Shipping affects both cost and repair planning. Check the dispatch time, carrier options, estimated delivery window, and whether the item ships from the location shown. “In stock” may mean available from a supplier rather than ready to leave the retailer’s warehouse.
Also check for oversized-item fees, residential delivery charges, and expedited shipping limits. A low-priced part that arrives after a scheduled repair can create more expense than a modestly higher-priced item with dependable delivery. Keep the expected arrival date realistic, especially for a vehicle you rely on daily.
Understand returns, warranties, and support
Read whether returns require prior approval, whether opened packaging is accepted, and who pays return shipping for an incorrect or defective item. Warranty periods may differ by product type and may require proof of installation by a qualified technician. These conditions matter before you remove the part from its packaging.
Support quality is part of the purchase. A retailer that answers a detailed compatibility question in writing gives you a useful record and may prevent an avoidable order. Keep policy links, messages, and confirmation numbers together until the part has been installed and tested.
Compare prices without sacrificing quality
Price comparisons are useful only when the items being compared are genuinely equivalent. A complete kit and a single component should not share the same baseline, and a new part should not be measured against a rebuilt one without accounting for condition. Begin with the full cost and then consider the likely service life.
Calculate the total purchase cost
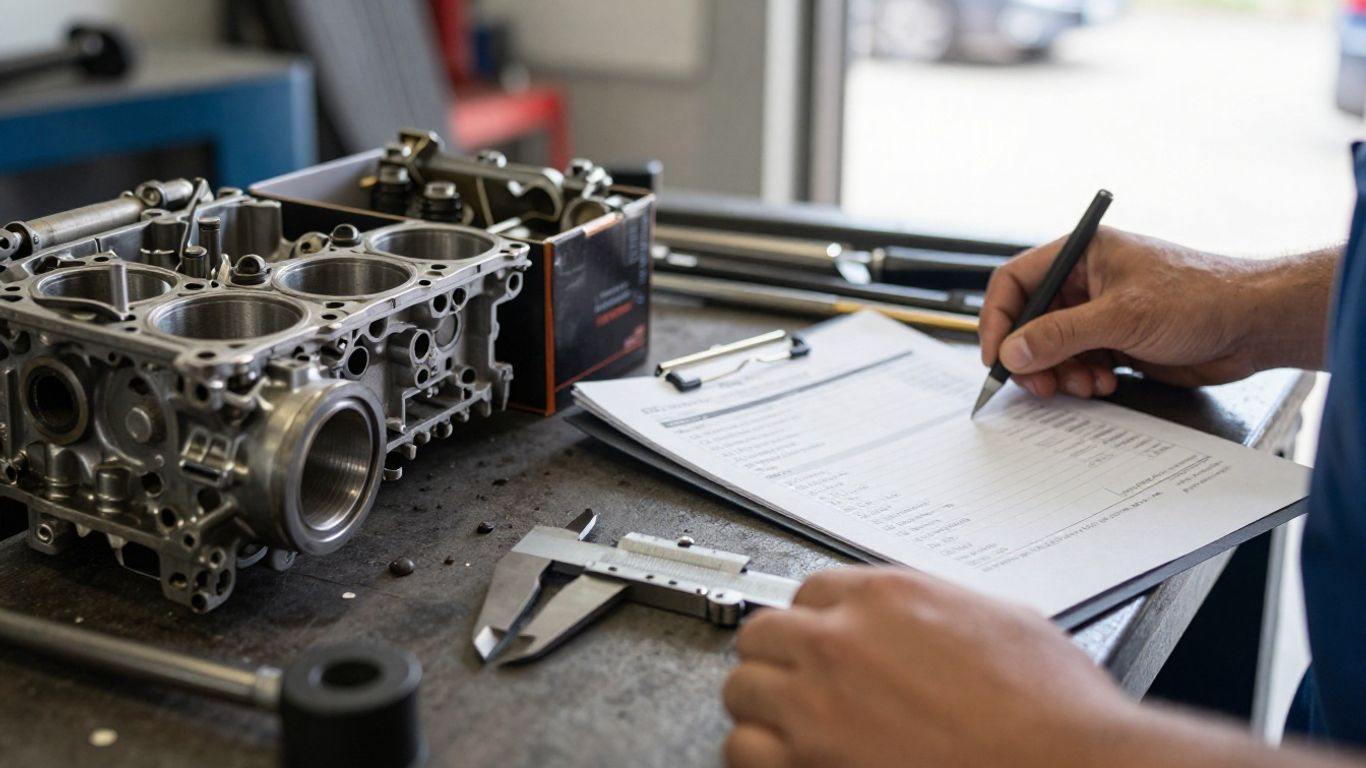
The checkout total can include shipping, taxes, core charges, handling fees, and required add-ons. For a repair involving several related parts, include every item needed to complete the job rather than comparing one visible component at a time.
A simple worksheet makes the comparison less subjective. Record the item price, delivery charge, tax, return exposure, and any associated hardware or fluids. The lowest displayed price is not necessarily the lowest cost to finish the repair.
Watch for misleading discounts
A crossed-out price may be based on a suggested retail figure that does not reflect the usual market price. Check the actual part number and compare equivalent condition and package contents across listings. A discount is meaningful only when the underlying item and terms are clear.
Be wary of countdown timers, vague “limited stock” notices, and bundles that hide an unwanted item in the total. Promotional language should not pressure you into skipping fitment checks. Take a moment to calculate the final amount before deciding that the offer is attractive.
Assess used, rebuilt, and new parts
Used parts can be appropriate for some non-wear components when the seller provides the vehicle source, mileage if known, inspection details, and clear photographs. Rebuilt parts require information about what was replaced and what testing was performed. New parts should still be checked for packaging, part number, and application.
Condition changes the risk calculation. A used bracket is different from a used timing or sealing component, and a rebuilt assembly may have different warranty terms from a new one. Match the condition to the part’s role and to how difficult it would be to replace again.
Consider long-term value and reliability
The purchase price is only one part of value. Labor, downtime, towing, replacement fluids, and damage from a failed component can outweigh a small saving at checkout. This is why a clearly documented part with dependable support may be the better choice even when it is not the cheapest option.
Think about access as well. If replacing a low-cost component requires substantial disassembly, a more dependable choice can reduce the chance of repeating the work. Review the warranty and keep the invoice so the value of that protection remains available.
Shop for common Mazda engine parts
Different engine parts call for different checks, even when they appear in the same online category. Wear items need attention to service intervals and kit contents, while electronic parts require connector and specification checks. Organizing the search by system keeps the purchase focused.
Engine belts, chains, and tensioners
Belts, chains, guides, and tensioners often work as a system. Confirm whether the listing covers one item or a complete service kit, and check whether related seals or fasteners are recommended for replacement at the same time. The engine code and production details are especially important here.
Ask about manufacturing dates or storage conditions when the part includes a rubber belt. For chain-drive components, compare the number of guides, tensioner design, and included hardware with the repair plan. Never assume that a visually similar kit has the same contents.
Gaskets, seals, and mounting components
Gaskets and seals depend on correct dimensions, material, and application. A small mismatch can cause leaks or require the job to be repeated, so verify the exact location and whether the listing covers a single seal, a set, or a full gasket kit. Mounting components also need attention to shape and hardware.
Check whether the repair requires new bolts, washers, clips, or sealant. Some listings show these pieces but exclude them from the package. Comparing the contents against the service instructions can prevent a second order after the engine is already apart.
Sensors, ignition, and fuel-system parts
Sensors should be matched by part number, connector design, and application rather than by appearance alone. Ignition and fuel-system components may have different electrical or pressure specifications across engine variants. Read the listing for resistance, connector, voltage, or pressure information when those details are provided.
A seller should be able to explain whether the item is new, tested, or refurbished. Avoid treating an undefined “fits many models” claim as sufficient evidence. If the part affects starting, fueling, or engine management, precise compatibility is worth the extra few minutes.
Cooling and lubrication components
Cooling and lubrication parts operate in demanding conditions, so material and pressure ratings deserve attention. Confirm the correct hose shape, thermostat specification, pump application, filter dimensions, or oil-related seal before ordering. Nearby components can look alike while serving different circuits.
Consider the surrounding service while planning the purchase. A cooling repair may call for fresh clamps or coolant, while lubrication work may require a new seal or filter. The listing should make these relationships clear without leaving you to infer what is included.
Verify the part before placing an order
The final review is where many online purchasing mistakes can still be caught. Read the listing from top to bottom, compare it with your vehicle information, and save evidence of what was advertised. A few deliberate checks are easier than resolving an incorrect order after the repair has started.
Read fitment notes and compatibility warnings
Fitment notes may identify exclusions by engine code, drive configuration, production date, or trim. Read every warning, including statements that a part requires another component or cannot be returned after installation. If the listing says confirmation is required, complete that step before paying.
Do not treat a green compatibility badge as a complete diagnosis. Automated systems can depend on incomplete vehicle data or broad catalog categories. Use the badge as a starting point, then confirm the written application and part number.
Compare photos, dimensions, and specifications
Photos can reveal connector locations, mounting holes, flange shapes, and included hardware, but they should support—not replace—the written specifications. Compare dimensions and visible features with the old part when it is available. Note that stock photos may not show every revision or package component.
If dimensions are missing, ask for them. A seller who cannot confirm a basic measurement may not have enough information to guarantee the match. Keep screenshots of the listing, including the photograph and specifications, with your order records.
Confirm stock status and packaging
Ask whether the item is physically in stock, backordered, or supplied through another warehouse. Confirm whether the package will be factory sealed, professionally packed, or shipped in a plain box. Packaging details can matter for seals, electronics, and components vulnerable to contamination or impact.
Check the estimated dispatch date rather than relying only on a delivery promise. If the part is needed for a booked repair, allow time for inspection and a possible exchange. A small buffer can prevent an otherwise avoidable interruption.
Contact the seller with detailed questions
Good questions include the full VIN, engine code, model year, exact part number, package contents, condition, and expected dispatch date. Put the information in one message so the seller can answer the complete compatibility question. A clear written response is more useful than a vague assurance that the item “should fit.”
Save the reply and compare it with the final checkout description. If the answer changes between the product page and customer support, request clarification before ordering. Silence or evasive replies are valid reasons to keep searching.
Plan installation and after-purchase care
Ordering the right component is only part of a successful repair. Installation conditions, related parts, tools, and documentation all affect the result. Plan the work before opening the package, and do not let an urgent repair turn a simple replacement into an improvised one.
Decide when professional installation is needed
Some engine work requires specialized tools, timing procedures, torque values, diagnostic equipment, or a way to safely support heavy components. If a mistake could cause internal engine damage or compromise fuel, cooling, or lubrication systems, professional installation may be the sensible option.
A qualified technician can also identify related wear or damage while the area is accessible. If you choose a shop, provide the part number and warranty terms before work begins. Confirm whether the shop will install customer-supplied parts and how that affects labor or warranty coverage.
Prepare tools and related replacement parts
Read the repair instructions before scheduling the work. Gather the tools, fluids, seals, fasteners, clamps, and cleaning materials that the procedure calls for, rather than assuming the main part includes everything.
A short preparation list can keep the job from stalling:
- Confirm the required torque specifications and specialty tools.
- Replace one-time-use fasteners or seals when specified.
- Prepare the correct fluids and containers for draining or refilling.
- Arrange a clean, labeled place for removed components.
This preparation also gives you a chance to compare the delivered part with the repair plan. If something essential is missing, resolve it before disassembly instead of leaving the vehicle partially dismantled.
Keep invoices and warranty documentation
Save the order confirmation, invoice, product page, fitment messages, tracking record, and warranty terms. These documents establish what was purchased and what the seller promised. Store them where they can be found after installation, not only in an email account that may be difficult to search later.
Record the installation date and vehicle mileage as well. Those details help with maintenance records and may be requested during a warranty claim. Do not discard the packaging until the part has been checked and the return period has passed.
Inspect the part after delivery
Open the package carefully and compare the part number, shape, finish, connectors, seals, and hardware with the order. Look for cracks, bent mounting points, contamination, corrosion, torn packaging, or signs that the item has been previously installed. Photograph the package and any damage before contacting the seller.
Do not install a questionable part simply because the repair is urgent. Contact the retailer promptly, describe the discrepancy, and follow the return instructions. Once the component is confirmed, proceed with the installation and retain the records for future service.
Conclusion
Confidently buying Mazda engine parts online comes down to patient verification: identify the exact vehicle and engine, compare part sources and total costs, examine retailer policies, and inspect the delivery before installation. A careful process may take a little longer, but it greatly reduces the chance of an expensive mismatch or a repair delayed by missing information.