

Key Takeaways
Shopping for car interior parts online is easier when you identify the exact component, verify fitment, and compare the full delivered cost.
- Record your vehicle’s year, make, model, trim, and part number before searching.
- Choose OEM, aftermarket, used, or refurbished parts according to your priorities.
- Use precise search terms, clear photographs, and compatibility information.
- Check seller policies, condition details, shipping costs, and return options.
- Inspect every part before installation and ask for professional help when needed.
Identify the interior part you need
A successful search begins before you open a marketplace or retailer website. Car interiors contain many parts that look similar but differ by model year, trim level, body style, and market. Spend a few minutes identifying the component and recording its details, because accurate identification saves money when ordering.
Common car interior parts and their functions
Interior parts range from highly visible trim to small fittings hidden behind panels. Floor mats, carpets, seat covers, door cards, dashboards, center consoles, sun visors, headliners, switches, vents, handles, and storage components all have different fitment requirements. A damaged panel may also include clips, wiring, speakers, or a switch, so decide whether you need the complete assembly or only one serviceable piece.
Describe the problem in practical terms. A torn seat cover, faded trim panel, broken glovebox latch, and cracked dashboard may all appear under broad interior categories, but each calls for a different search. Photograph the installed part from several angles and keep the old component until the replacement has been checked.
How to find your vehicle’s year, make, and model
Use the registration documents, owner’s manual, insurance records, or vehicle identification number to confirm the basic vehicle information. The badge on the boot or grille may not identify the precise series, while a model can have several interior designs within one production year. Note the body style, engine where relevant, transmission, cabin layout, steering position, and trim grade.
If you are in Australia, also check whether the vehicle was sold locally or imported. A similar-looking model from another market can use different clips, switches, upholstery patterns, or dashboard controls. When a listing asks for a vehicle selector, enter every field rather than relying on the model name alone.
Using OEM part numbers and manufacturer codes
Part numbers are usually more reliable than descriptions such as “fits most models.” Look for a stamped, moulded, printed, or stickered code on the original component. It may appear on the reverse of a trim panel, beneath a seat, inside a glovebox, or on a small electrical module.
Compare the complete code, including letters, suffixes, and revision marks. A replacement with a nearly identical number may differ in color, connector layout, mounting points, or left-hand and right-hand orientation. If the code is missing or unreadable, send clear photographs and the vehicle details to the seller before ordering.
Measuring panels, trim, mats, and upholstery components
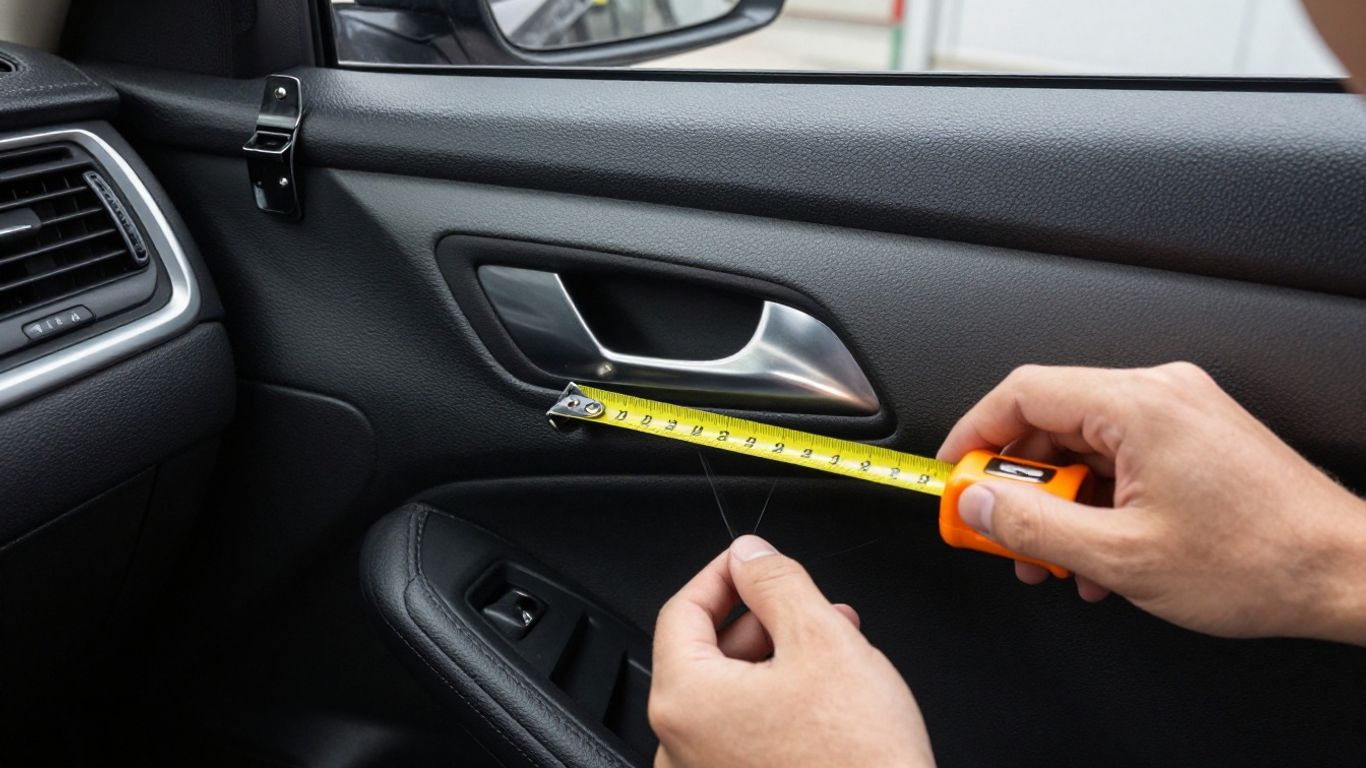
Measurements are useful, but they should support rather than replace fitment information. Measure length, width, depth, mounting-hole spacing, and the position of cut-outs. For mats and carpet, record the shape around pedals, seat rails, consoles, and anchor points. For upholstery, note the number of headrest openings, seams, fasteners, and airbags built into the seat.
Take measurements with the part removed when possible, and photograph the measuring tape in place. Small variations can matter, especially around clips and dashboard edges. A part that is close in size may still require trimming or leave gaps that are difficult to correct.
Choose between OEM, aftermarket, and used parts
The right replacement depends on the car’s age, the part’s function, your budget, and the finish you want. OEM parts can be the simplest route for exact replacement, while aftermarket options may offer different materials or broader availability. Used components are often practical for discontinued interiors, provided their condition is understood.
Advantages of OEM replacement parts
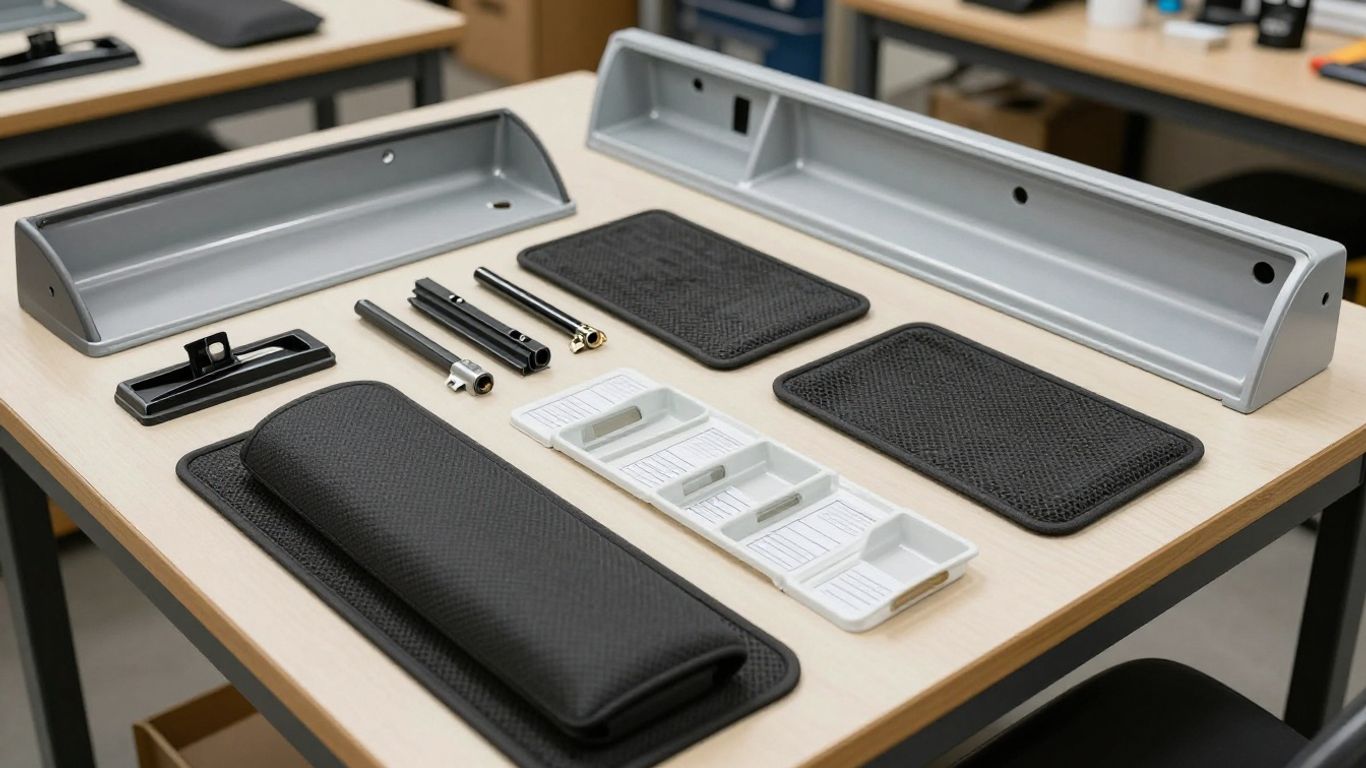
OEM parts are made for a vehicle manufacturer’s specifications and may be the closest match for original shape, mounting points, finish, and operation. They can make sense for safety-related interior components, visible trim on a carefully maintained vehicle, or a repair where alteration is undesirable.
Availability is the main limitation. Some original components are discontinued, back-ordered, or sold only as part of a larger assembly. Confirm that the listing is for the precise side, color, trim grade, and production range before assuming “OEM” means an exact match.
When aftermarket parts offer better value
Aftermarket parts can be useful when an original component is expensive, unavailable, or prone to the same wear. Floor coverings, mats, seat covers, storage accessories, and replacement trim may be offered in several materials and price levels. Read the specifications carefully rather than choosing solely by the lowest price.
A good aftermarket option should state the supported vehicles, dimensions, materials, fastening method, and any required modification. If the item is made to order, ask whether it can be returned after production. That detail matters for upholstery and shaped coverings.
Evaluating used and refurbished interior components
Used parts can preserve an original color and texture, particularly for older vehicles whose new replacements are scarce. Inspect photographs for sun fading, stains, cracks, broken tabs, missing fasteners, warped edges, and damage around screw holes. Ask whether the part came from a complete vehicle and whether it was removed carefully.
Refurbished components may have been cleaned, repaired, recolored, or reupholstered. Those processes can produce a good result, but the listing should explain what work was completed. Request close-ups of the areas that will be most visible once fitted, not just broad photos taken from a distance.
Matching restoration goals with part authenticity
A daily driver may benefit from a durable, affordable replacement that looks tidy without matching every factory detail. A concours-style restoration has different priorities: original markings, correct grain, period-correct materials, matching hardware, and an accurate color may matter more than convenience.
Write down your restoration standard before shopping. This prevents an attractive modern substitute from being mistaken for an authentic period component. It also helps you decide where a small visual difference is acceptable and where it would undermine the finished interior.
Search for car interior parts online effectively
Broad searches produce crowded results, while a specific query can quickly narrow the field. Include the vehicle information, component name, side or position, color, material, and part number when available. Searching for car interior parts online becomes much more productive when the wording describes the actual item rather than the general repair.
Using precise search terms and vehicle filters
Start with a phrase such as the vehicle year, make, model, body style, and part name. Add terms such as left, right, front, rear, black, grey, leather, vinyl, or passenger side only when they are relevant. If you have a code, place it in quotation marks and search it separately from the descriptive phrase.
Vehicle filters are useful, but they are not conclusive. Check the listing’s notes for trim exclusions, production dates, facelift changes, and regional differences. Save promising listings in one place so you can compare them without repeatedly entering the same vehicle details.
Comparing marketplace, retailer, and salvage yard listings
Marketplaces may provide a wide range of prices and rare used parts, but listing quality varies. Retailers often provide clearer catalog information and standardized returns. Salvage yards can be valuable for matching original components, especially when a seller can photograph the exact part removed from a donor vehicle.
Compare like with like. A new component, an exact used assembly, and a repairable shell should not be judged by price alone. Check whether hardware, switches, brackets, clips, and trim inserts are included before deciding which listing is the better purchase.
Finding parts for classic, discontinued, and imported vehicles
Older and imported vehicles often require more patient research. Search by factory code, chassis code, production series, interchange number, and the names used in the vehicle’s original market. Owner clubs, workshop manuals, parts diagrams, and specialist forums can help you understand terminology, but verify the final fitment with the seller.
For discontinued parts, consider buying a clean used original before it disappears. If an item is being shipped internationally, confirm the currency, delivery method, taxes, and return process. A rare bargain can become costly if it arrives damaged or cannot be sent back.
Checking photos, diagrams, and compatibility details
Photos should show the actual part whenever condition matters. Look for the front, rear, underside, mounting points, connectors, labels, and any visible wear. Diagrams can help identify the correct position, but they may show a generic illustration rather than the exact color or finish being sold.
Read compatibility notes from beginning to end. Phrases such as “may fit,” “check options,” or “requires transfer of hardware” signal that additional verification is needed. If a key detail is missing, ask a direct question before paying rather than hoping the part will match.
Evaluate quality, fit, and seller reliability
A good listing answers practical questions before you place the order. You should know whether the photograph shows the actual component, what condition it is in, which hardware is included, and how fitment is determined. This is especially important for parts with visible surfaces, fragile clips, or integrated electronics.
Reading product descriptions and customer reviews
Read the description for dimensions, material, color, side, position, vehicle range, and condition. Customer reviews can reveal whether the item arrived as pictured, whether the color was accurate, and whether installation required unexpected changes. Give more weight to reviews that mention the same vehicle generation or component.
A short description is not automatically a bad sign, but missing information creates uncertainty. Ask for clarification in writing and keep the response with your order records. That exchange may also reveal how carefully the seller handles technical questions.
Spotting signs of damaged or mismatched parts
Watch for photographs that hide edges, mounting tabs, connectors, or the underside. Heavy glare can conceal scratches, while low-resolution images may make cracks and fading impossible to judge. Different lighting can also make two pieces of the same nominal color appear compatible when they are not.
Before ordering, check for:
- Broken clips, mounting tabs, brackets, or screw points.
- Cracks, warping, deep scratches, stains, or sun damage.
- Missing switches, grilles, fasteners, wiring, or trim inserts.
- Differences in grain, stitching, shade, connector shape, or side orientation.
These checks are quick and can prevent an inexpensive-looking purchase from becoming a repair project. If the part is used, ask the seller to confirm the condition of the specific areas that will be hidden after installation.
Reviewing seller ratings, warranties, and return policies
Seller ratings provide useful context, but read the recent written feedback instead of relying on a percentage alone. Look for comments about packing, accuracy, communication, and how problems were handled. A warranty may cover manufacturing defects while excluding wear, installation damage, or incorrect ordering.
Review the return window, restocking fee, return shipping responsibility, and rules for electrical or made-to-order parts. Photograph the packaging when the parcel arrives. Clear records make it easier to resolve a genuine transit or listing issue.
Confirming color, material, finish, and trim compatibility
Color names are not standardized across sellers, and an interior can have several shades with similar descriptions. Compare the listing with an undamaged piece from your vehicle under natural light. Note whether the surface is textured, smooth, gloss, satin, brushed, flocked, fabric, vinyl, or leather.
Trim level also affects compatibility. Two vehicles from the same year may use different stitching, grain, speaker openings, cup holders, or decorative inserts. When an exact color is unavailable, decide whether a coordinated replacement is acceptable before ordering rather than trying to make the match work afterward.
Compare prices and calculate the total cost
The listed price is only one part of the purchase decision. Interior parts can be bulky, fragile, or difficult to package, and the cheapest listing may carry higher delivery or customization costs. Build a simple comparison that includes everything you will pay and everything you may need to finish the job.
Comparing prices across multiple online stores
Search at least a few sources using the same part number and condition terms. Record whether each price is for a single item, a pair, a complete assembly, or a repairable shell. Also note stock status, estimated delivery, warranty coverage, and whether the photo shows the exact part.
A comparison table keeps small differences visible when you are considering several options:
| Cost factor | What to check | Why it matters |
|---|---|---|
| Part price | New, used, refurbished, or made to order | Establishes a fair like-for-like comparison |
| Shipping | Parcel size, insurance, and delivery area | Large or fragile parts can cost more to send |
| Taxes and fees | Applicable sales tax, duties, or handling charges | Prevents surprises at checkout |
| Included items | Clips, brackets, switches, covers, or hardware | Missing pieces may require another purchase |
After comparing these factors, the most expensive listing may not be the worst value, and the lowest price may not be the cheapest completed repair. Look at the cost of receiving a usable, installable part.
Factoring in shipping, taxes, and core charges
Confirm the delivery charge for your actual postcode or region. Oversized items may have special freight rules, while fragile trim may need upgraded packaging. For interstate or international orders, check whether taxes and import fees are collected at checkout or charged later.
Some refurbished or remanufactured components involve a core charge. This is a deposit connected to returning the old component, so understand the deadline, acceptable condition, and return freight before ordering. A forgotten core requirement can change the final price substantially.
Understanding discounts, bundles, and refurbished-part pricing
Discounts are most useful when they apply to parts you already need. Check whether a bundle includes the correct side, color, fasteners, and quantity. A pair of mats or trim pieces may be better value than separate items, but not if one piece cannot be used.
Refurbished pricing should reflect the work completed and the remaining risk. Ask whether the part was cleaned, repaired, recolored, tested, or reupholstered. Compare that information with the cost of buying a used part and paying for the same work locally.
Estimating installation and customization costs
Some replacements are simple bolt-on jobs; others require removing seats, airbags, consoles, clips, adhesives, or wiring. Include tools, replacement fasteners, cleaning products, dyes, adhesives, and possible trim work in your estimate. If a panel needs painting or upholstery, request a quote before buying the base part.
A part that requires substantial modification may still be worthwhile for a rare vehicle, but it should be a conscious decision. Add the estimated labor to the purchase price and compare it with a closer-fitting alternative.
Order and install your replacement parts
The final stage is about controlling risk. Recheck the listing, save the photographs and description, and confirm that the seller has answered any unresolved fitment questions. Once the order is placed, avoid discarding the original part until the replacement has passed a careful comparison.
Confirming fitment before placing an order
Match the vehicle details, part number, side, finish, and included hardware one last time. For electrical components, compare connectors and mounting points rather than relying on appearance. If the listing uses a vehicle selector, review any warning or exclusion shown after you enter the details.
Ask the seller to confirm ambiguous points in writing. Keep the order confirmation, messages, and listing photographs. These records are helpful if the delivered component differs from what was described.
Inspecting parts when they arrive
Open the parcel carefully and photograph the packaging before removing the part. Check for transit damage, cracks, bent brackets, missing clips, incorrect color, and signs that the item differs from the listing. Compare it with the original while both are still available.
Do not force a component into place just to test it. A mismatched clip or connector can damage the vehicle as well as the replacement. Contact the seller promptly if something is wrong, following the stated return or warranty procedure.
Preparing tools and installation instructions
Read the vehicle manual and any supplied instructions before removing trim. Depending on the job, you may need trim tools, screwdrivers, sockets, pliers, a torque wrench, replacement clips, masking tape, and a container for fasteners. Disconnect the battery when the manufacturer’s instructions require it, particularly before working near airbags or powered seats.
Label connectors and photograph the original arrangement as you go. Work slowly around brittle plastic and keep removed pieces in order. A few minutes of preparation can prevent rattles, broken tabs, and confusion during reassembly.
Deciding when to use a professional installer
Professional help is sensible when the job involves airbags, seat-belt systems, powered seats, complex wiring, glued headliners, extensive upholstery, or major dashboard removal. It is also worthwhile when the replacement requires color matching, stitching, structural repair, or modification that you cannot test confidently.
For simpler trim, mats, covers, and storage components, careful self-installation may be practical. Be honest about your tools, workspace, and time. The cheapest part is not a saving if an avoidable mistake damages surrounding components.
Conclusion
Finding car interior parts online is mainly a matter of careful identification and patient comparison. Record the vehicle details, verify the part number and finish, examine the seller’s evidence, and calculate the complete cost before ordering. With those habits, you can choose between original, aftermarket, used, and refurbished parts with a clearer sense of fit, value, and installation risk.