

Key Takeaways
A successful Nissan X-Trail replacement motor purchase starts with exact identification, not a quick search by year or price. Confirm the engine code, inspect the motor, and budget for the work around it.
- Match the replacement to the VIN, engine code, fuel system, and transmission.
- Decide whether a complete engine, long block, or bare block suits the repair.
- Verify condition through testing, records, photographs, and warranty terms.
- Include labor, shipping, consumables, transferred parts, and core charges in the budget.
- Document installation steps and follow every warranty requirement.
Understand your Nissan X-Trail’s engine requirements
The X-Trail has been sold across multiple generations and markets, so a motor that looks right may still be unsuitable. Start with the vehicle’s identity, then confirm the details that affect mounting, electronics, emissions, and drivetrain fit. The goal is to create a precise specification before contacting sellers.
Identify the model year and generation
Record the model year, build date, chassis or generation code, and body configuration. Different generations can use different engine families, mounting arrangements, sensors, and control systems, even when displacement appears similar. A registration year alone may not reveal when the vehicle was built, so check the compliance plate, service records, or manufacturer documentation.
The generation also helps narrow the search for accessories and ancillaries. Before ordering, photograph the existing engine bay and compare the replacement listing with the original layout rather than relying on a broad “fits X-Trail” description.
Confirm the engine size, fuel type, and transmission
Write down the engine displacement, petrol or diesel fuel type, induction system, and transmission. Manual and automatic applications may share a basic block while using different flywheels, flexplates, sensors, brackets, or wiring. Four-wheel-drive versions can also have packaging differences that matter during installation.
Check whether the seller is offering a complete dressed engine or only an internal assembly. The correct short block may still require your intake, exhaust, fuel, ignition, cooling, and accessory components, so clarify exactly what is included before comparing prices.
Use the VIN to verify compatibility
The VIN gives the parts supplier or workshop a stronger starting point than the model name alone. Ask for a written compatibility check that includes the engine code and, where applicable, transmission and emissions details. Keep the VIN, the original engine number, and clear photographs together in your purchase file.
This step can expose differences that are easy to miss in online listings. If the seller cannot confirm compatibility from the information provided, treat that uncertainty as a reason to pause rather than as an invitation to guess.
Check regional and market-specific differences
The same X-Trail name can cover vehicles built for different markets. Emissions equipment, fuel delivery, engine management, cooling hardware, and wiring may vary by region, while imported vehicles can have unfamiliar specifications or documentation. Confirm the local registration and inspection requirements before choosing a motor from another market.
A regional mismatch does not automatically make an engine unusable, but it can increase the number of parts that must be transferred or adapted. Have a technician compare the original and replacement assemblies in detail before money changes hands.
Compare your Nissan X-Trail replacement motor options
Replacement motors fall into several categories, and each category shifts the balance between price, risk, preparation, and expected service life. A low-cost used assembly may be sensible for an older vehicle, while a rebuilt or new unit may make more sense when labor is expensive. Compare the whole repair rather than the engine price in isolation.
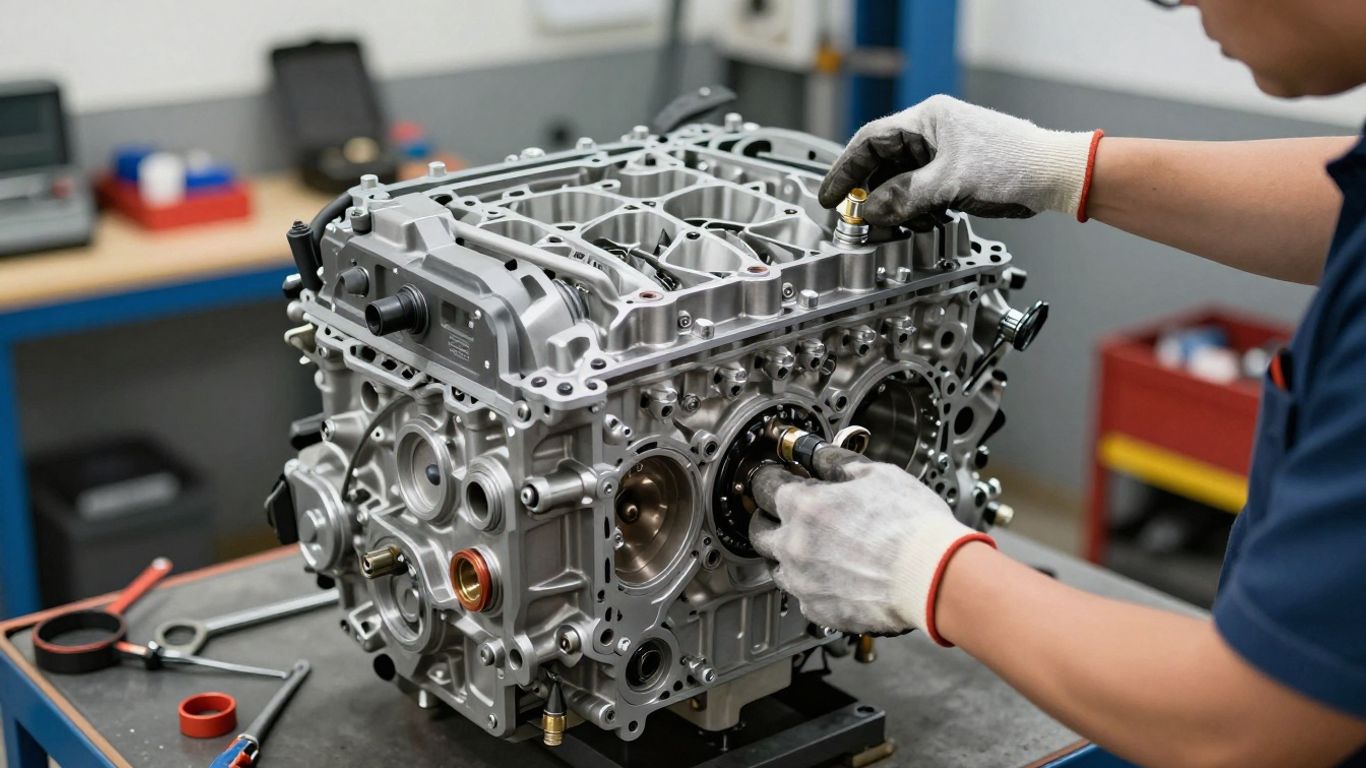
A useful comparison includes what has been tested, what has been replaced, and what arrives in the crate. It also asks whether the quoted unit is ready to install or will need substantial work before it can be fitted.
Brand-new, remanufactured, used, and imported engines
A brand-new engine generally offers the clearest starting point, but it may cost more and may not include the external components from the original motor. A remanufactured engine has been disassembled, inspected, and rebuilt to a stated standard; request the builder’s specification rather than assuming every remanufactured unit follows the same process.
A used engine can be economical when its history and testing are credible. Imported engines may provide access to otherwise scarce stock, but shipping, exchange rates, regional equipment, and warranty handling deserve extra scrutiny. Ask for photographs of the actual unit, not only catalogue images.
Complete engines versus long blocks and bare blocks
A complete engine may include the cylinder head, timing components, intake and exhaust parts, fuel equipment, sensors, starter, alternator, and other accessories, but the definition varies by seller. A long block usually contains the main internal assembly and cylinder head, while a bare block requires considerably more rebuilding and parts transfer.
The right choice depends on the condition of your existing ancillaries and the workshop’s labor rate. A cheaper long block can become expensive if old accessories, seals, and timing parts must be removed, cleaned, tested, and refitted one by one.
Matching engine codes and interchangeable parts
Treat the engine code as the primary compatibility reference. Some parts may interchange across related applications, but interchangeability should be confirmed by part number, dimensions, connector style, and technical documentation. Do not assume that two engines with the same displacement share every sensor, bracket, crank trigger, or control module.
Make a transfer list before buying. It should distinguish parts supplied with the replacement from parts retained from the original, along with any components the installer recommends replacing during the swap.
Weighing cost against mileage and expected lifespan
Mileage matters, but it is only one indicator of condition. A documented, tested engine with higher mileage may be a more rational purchase than an untested unit advertised with fewer kilometres. Consider how long you expect to keep the vehicle, how much labor has already been committed, and whether downtime has a real cost.
Use a simple comparison table to keep unlike offers from appearing artificially cheap. The figures are estimates for planning, not promises from a seller.
| Option | Upfront price | Main uncertainty | Best fit |
|---|---|---|---|
| Used complete engine | Lower to moderate | History and remaining wear | Older vehicle with limited value |
| Remanufactured engine | Moderate to high | Build specification and exclusions | Long-term ownership |
| Long block | Moderate | Parts transfer and labor | Good original ancillaries |
| Bare block | Variable | Extensive machining and assembly | Specialist rebuild project |
After filling in the actual quotations, compare the installed cost and warranty coverage. That usually gives a clearer answer than ranking the options by purchase price alone.
Inspect a replacement motor before purchase
Inspection is the point where a promising listing becomes a defensible purchase. Request evidence that relates to the actual engine, and make sure the seller explains any test that was not performed. If the unit is already removed from a vehicle, photographs of mounting points, ports, sensors, and casting numbers can prevent expensive surprises.
Review compression, leak-down, and oil pressure results
Compression readings should be recorded for every cylinder, with the test method and engine condition explained. Leak-down results can help identify whether pressure is escaping past the rings, valves, or head gasket, while oil pressure data gives useful information about lubrication-system health. These tests do not reveal everything, but they are far better than a mileage claim alone.
Ask whether the engine was tested cold or warm and whether the results were supplied before removal. A workshop should interpret uneven readings in the context of the engine design and any known symptoms rather than treating one number as a complete diagnosis.
Check service history and mileage documentation
Look for invoices, inspection reports, donor-vehicle details, and a consistent mileage trail. A dismantler may have useful records from the vehicle the engine came from, while a remanufacturer should be able to describe the work performed and the parts renewed. Be cautious when the mileage is presented without a source or supporting documentation.
The paperwork should identify the exact unit being sold. Matching the engine number or a supplier inventory reference to the invoice makes later warranty discussions much easier.
Look for corrosion, cracks, and signs of overheating
Inspect the block, cylinder head, mating surfaces, threaded holes, and coolant passages for corrosion or damage. Discolored metal, warped surfaces, damaged wiring, brittle connectors, and residue around the head gasket area can point to overheating or poor storage. Oil and coolant contamination also deserve an explanation before purchase.
If possible, have a technician inspect the motor in person or arrange an independent inspection. A clean exterior is helpful, but it does not prove that the internal components are healthy.
Confirm the warranty and return conditions
Read the warranty before ordering, including its duration, coverage, labor limits, shipping responsibilities, and exclusions. Many warranties require professional installation, documented fluid changes, approved parts, or a pre-installation inspection. Others cover the engine assembly but not ancillary parts or consequential damage.
Ask what happens if the unit arrives damaged or fails its initial checks. Get the return window, core procedure, authorization process, and evidence requirements in writing; a verbal assurance is difficult to use after installation.
Calculate the total replacement cost
The purchase price is only the first line in an engine-swap budget. Shipping, workshop time, fluids, seals, transferred components, programming, and unexpected repairs can materially change the final figure. Build the estimate before committing, using separate low, likely, and high scenarios where uncertainty remains.
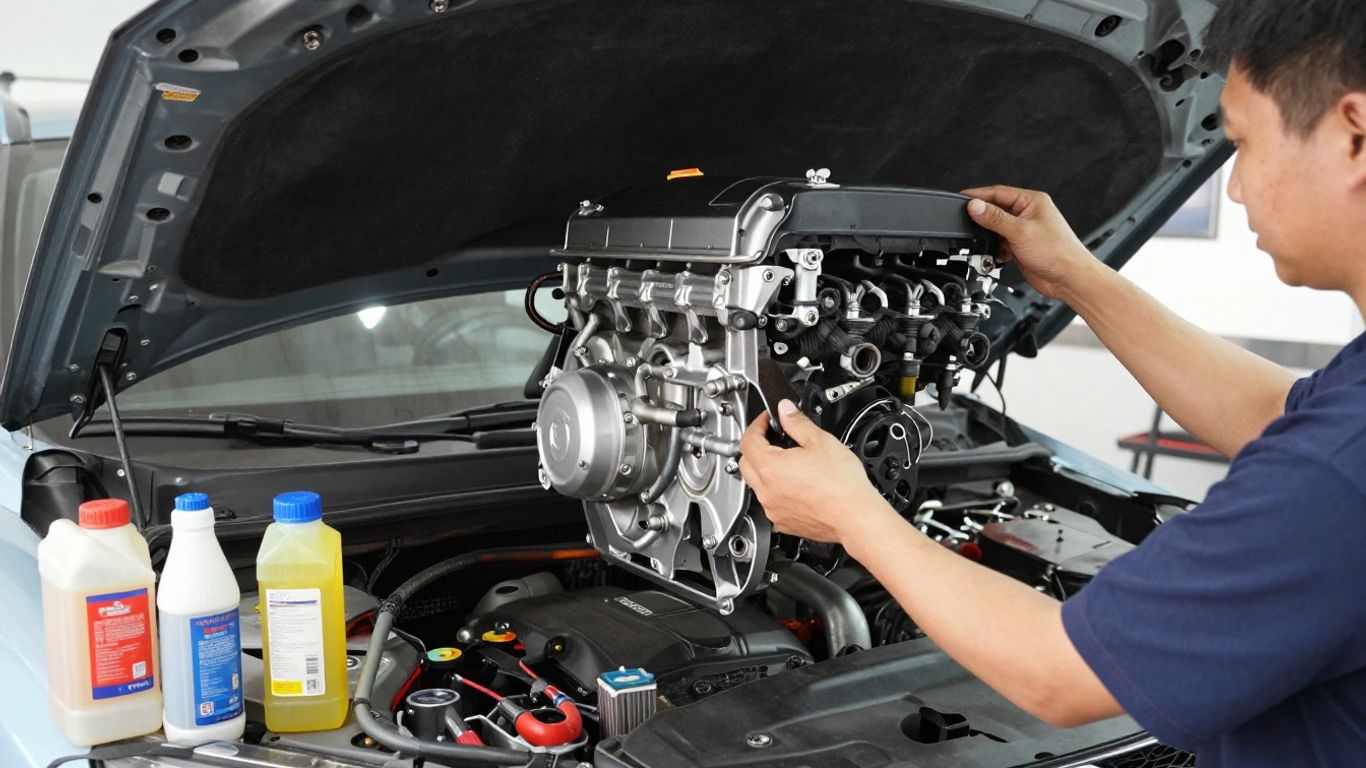
A written estimate also makes it easier to compare a replacement motor with rebuilding the original or changing vehicles. Include downtime and the condition of the rest of the X-Trail, not just the mechanical parts of the swap.
Estimate engine, shipping, and core charges
Ask whether the quotation includes freight, crating, taxes, delivery to a residential address, and insurance. A refundable core charge may be added if the supplier expects the old engine back, and the refund may depend on damage, completeness, or return timing. Confirm these terms before arranging disposal of the original motor.
Record the delivered price rather than the advertised base price. A seemingly inexpensive engine can lose its advantage when special freight handling or a nonrefundable core fee is added.
Account for labor and required replacement parts
Labor depends on access, drivetrain layout, corrosion, the engine type, and how many parts must be transferred. Request an estimate that separates removal, preparation, installation, fluid filling, diagnostic work, and road testing. Ask whether the quote includes troubleshooting if the replacement does not start immediately.
Required parts may include mounts, hoses, gaskets, belts, filters, sensors, fasteners, or clutch and torque-converter components. A complete cost picture helps prevent the common situation where a cheap motor produces an expensive installation.
Budget for fluids, seals, belts, and filters
Fresh engine oil, coolant, filters, seals, and appropriate lubricants should be included in the plan. Depending on the design and condition, the installer may recommend renewing timing components, front and rear main seals, thermostat parts, drive belts, or accessible hoses while the engine is out.
Do not replace every component automatically, but do not ignore inexpensive wear items that are difficult to reach once the engine is installed. The workshop can separate essential items from sensible preventive work so you can make an informed decision.
Compare replacement with rebuilding or replacing the vehicle
A rebuild preserves the known engine’s external fit and may address its specific failure, but it can involve machining, inspection, and a longer schedule. A replacement motor may shorten the repair path, especially when a suitable tested unit is available. Replacing the vehicle avoids the engine job but introduces registration, financing, inspection, and unknown-history costs.
Use the vehicle’s body, suspension, transmission, rust level, maintenance history, and current market value in the calculation. The mechanically cheapest option is not always the financially sound one.
Prepare for installation
Preparation determines how much of the replacement engine’s apparent value survives the installation. Before the old motor is removed, label connectors, photograph hose routing, and identify parts that are specific to the vehicle. This creates a reference when the replacement arrives with different external equipment.
Identify components worth transferring from the original engine
Compare the two engines side by side whenever possible. Accessories, intake and exhaust hardware, brackets, sensors, wiring, fuel components, and emissions equipment may need to remain with the vehicle for compatibility. A part should be transferred only after its condition and part number have been checked.
Have the installer mark each retained component and note its location. This reduces the chance of mixing similar-looking parts or discarding a bracket that is essential to the vehicle’s original installation.
Replace seals, gaskets, hoses, and wear items
The engine is easiest to service before it is lowered into the bay. Inspect accessible seals, gaskets, hoses, belts, filters, mounts, and fasteners, and replace items that are leaking, hardened, damaged, or near the end of their service life. Clean mating surfaces carefully and use the correct torque procedures.
This preparation is not an excuse to alter the engine beyond the approved specification. It is a practical chance to deal with wear items while access is good and labor overlap is high.
Verify ECU, wiring, and immobilizer compatibility
The engine must work with the vehicle’s control modules, sensors, wiring harness, and immobilizer system. Confirm connector layouts, crank and cam signals, throttle equipment, fuel controls, and calibration requirements before installation. Some parts may be physically interchangeable but electronically incompatible.
Ask the technician whether coding, relearning, or diagnostic checks will be required after startup. Resolve those questions while the replacement is still on the stand, not after the vehicle has been reassembled.
Plan fluid changes, cooling-system checks, and startup procedures
Flush or inspect the cooling system if contamination or overheating caused the original failure. Check radiator condition, hose routing, fan operation, and heater-circuit flow, then fill the engine with the correct fluids. The first startup should follow the supplier’s and workshop’s procedure, including priming, leak checks, idle observation, and diagnostic scanning.
After the initial run, inspect for fluid leaks and abnormal noises before driving. A short, controlled road test followed by another fluid and fault-code check can catch problems while the installation is still easy to review.
Avoid common replacement motor mistakes
Most costly mistakes happen before the engine reaches the workshop. Buyers may focus on a familiar model name, a dramatic discount, or a reassuring photograph and overlook the technical details that determine whether the unit belongs in the vehicle. Slow the decision down enough to verify the evidence.
Buying by model year without checking the engine code
A model year narrows the search but does not establish a complete match. Production changes, market differences, facelifts, fuel systems, and transmission combinations can create multiple engine applications within one year. Confirm the code stamped on the original engine and compare it with the supplier’s documentation.
If the codes differ, ask for a written explanation of what is interchangeable and what must be transferred. Without that information, the apparent bargain may become a custom conversion.
Choosing the lowest price without verifying condition
Price is useful only after condition, contents, testing, and warranty are comparable. An untested motor can require inspection, seals, machining, or a second removal and installation, wiping out the original saving. Request the actual unit’s photographs and test records before placing a deposit.
A seller who answers detailed questions clearly is easier to work with if a problem occurs. Keep the quotation and all technical answers with the order documents.
Overlooking transmission and emissions compatibility
The engine has to fit the transmission, drivetrain, exhaust system, and emissions configuration as a working package. Check bellhousing patterns, flywheel or flexplate arrangements, sensors, catalytic equipment, evaporative controls, and regional inspection requirements. Physical fit alone does not guarantee correct operation or legal compliance.
Have the workshop review these points before delivery. Early confirmation can prevent the vehicle from sitting disassembled while missing parts are sourced.
Failing to document the installation and warranty requirements
Keep the invoice, engine number, photographs on arrival, test results, parts list, installation date, fluid receipts, and workshop records. Follow the warranty’s break-in, service, and reporting instructions precisely. If a concern appears, stop using the vehicle if appropriate and contact the supplier within the stated procedure.
A clear paper trail protects both sides and makes diagnosis more efficient. It also gives the next owner a reliable record of what was replaced and how the work was completed.
Conclusion
Choosing a Nissan X-Trail replacement motor is a process of matching, inspecting, budgeting, and preparing rather than simply finding an engine with the right badge. Verify the VIN and engine code, compare the delivered and installed cost, inspect the evidence, and make the warranty requirements part of the purchase decision. With those steps handled carefully, the replacement is far more likely to fit the vehicle and provide a dependable repair.